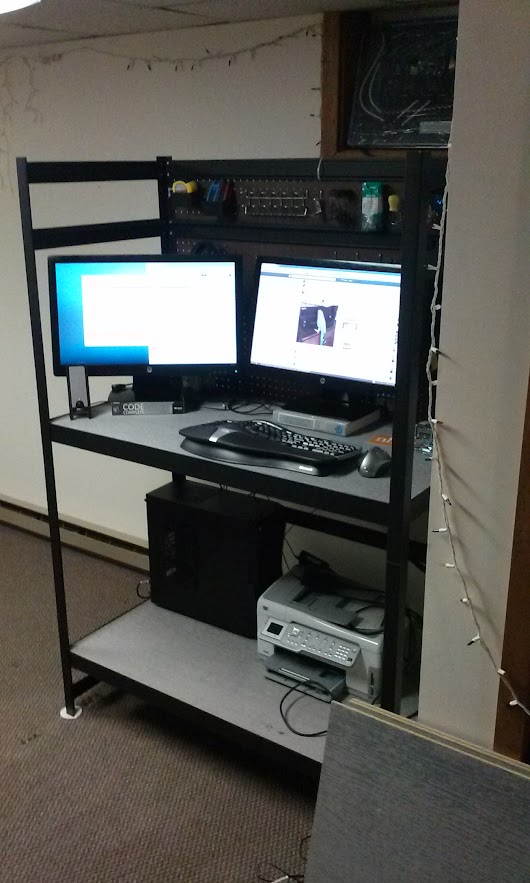
I'm happy to say that I'm writing this from my newly assembled and configured workbench.
 .
.
There are still additions and modifications to make, but so far I'm quite happy with the net result. I'd like to share a bit about how I got into this idea of a workbench and how to attempt this yourself.
TL;DR
- Wanted, no, needed a standing desk at home!
- Considered pre-built options, but decided that a semi-DIY project would be more fun
- Using typical shelving accessible at any major hardware store, and one or two simple tools, assembled a setup.
- Includes a peg board setup for hanging tools.
- The total cost (not including some new fancy things I'm adding to the setup) for the desk came to $150.
- If and when I decide to write part two, it will include an updated cost table along with details of cleaning up the setup and improving it slightly.
Considerations for the desk
For lack-of a better term, I'll call this project semi-DIY. Really it was a matter of determining what I needed, finding components that were easy to work with to a decent result, and going for it.
When you begin your quest for a new standing desk, the first (and possibly off-putting) results you'll see are things like the Uplift 900 Electric Sit/Stand Desk. At a cool $700 base price, it may make a person who shops Savers put off. I decided that I'd like to see what else I could do before I put down that much money on one of these desks (though I was willing to).
When putting my ideas together for a workbench, I had a few things I was hoping to get out of it:
- (Relatively) easy assembly.
- Stable structure.
- More accessible to standing than sitting.
- Ability to customize/add things on easily.
And of course, it should look at least semi-decent. I'm not fancy by any means, but it is nice if it doesn't look horrendous.
It finally hit me - I had seen this before. Using storage racks as a table! This was something a prior job had done to configure their servers. And with some tweaks and changes, it could act as a perfectly good desk.
After some searching around, and a few visits to local hardware stores, I landed on this rack.
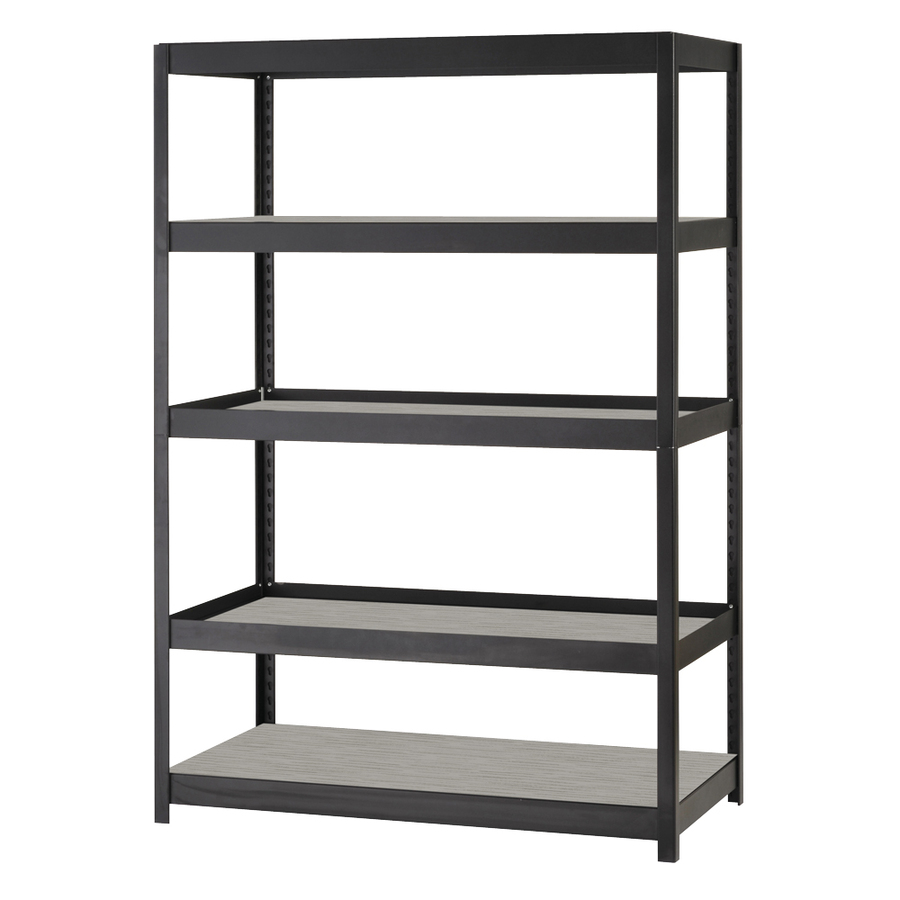 Lowe's edsal Freestanding Black Shelf
This had the right combination of size, cost, and ease of assembly. It also happened to have a decent appearance by covering the mounting holes for the side bars.
Assembly
There are a few tools I'd recommend for putting the shelving:
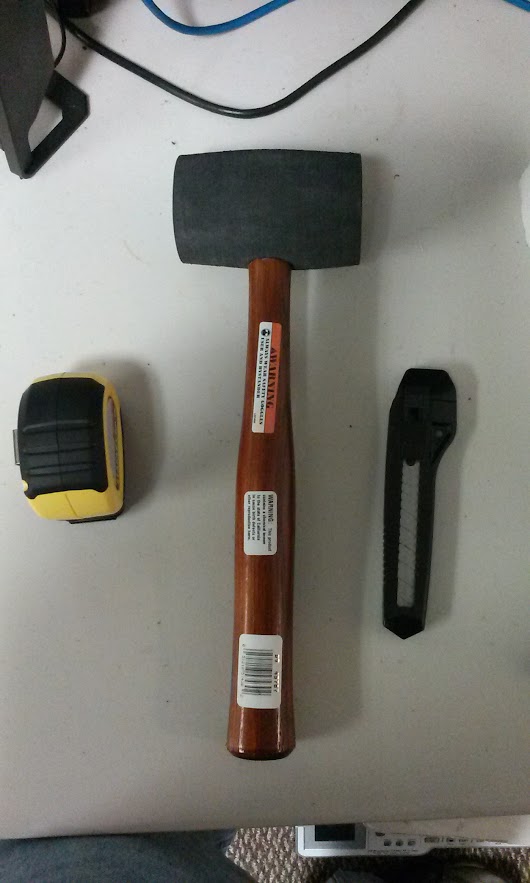
- Rubber mallet ($10) (By far the most important tool)
- Tape measure ($10)
When putting this together, I was quickly reminded how a decent design works by being very simple for the small pieces, and having the ability to combine into more complex pieces. First, you'll start by putting together one side of the rack.
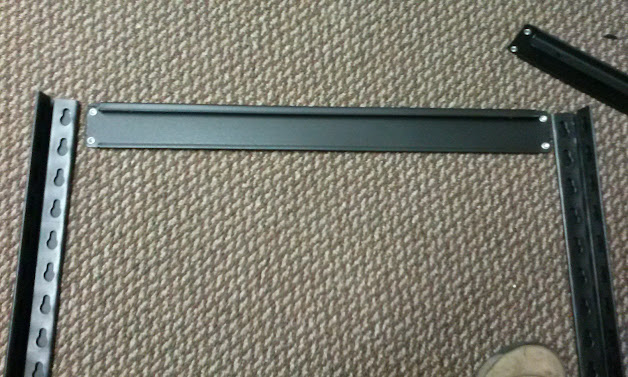
You'll place the silver metal attachments into the larger portion of the connection point. Then you'll take a rubber mallet and push the bar into the smaller slot. The net result looks something like this:
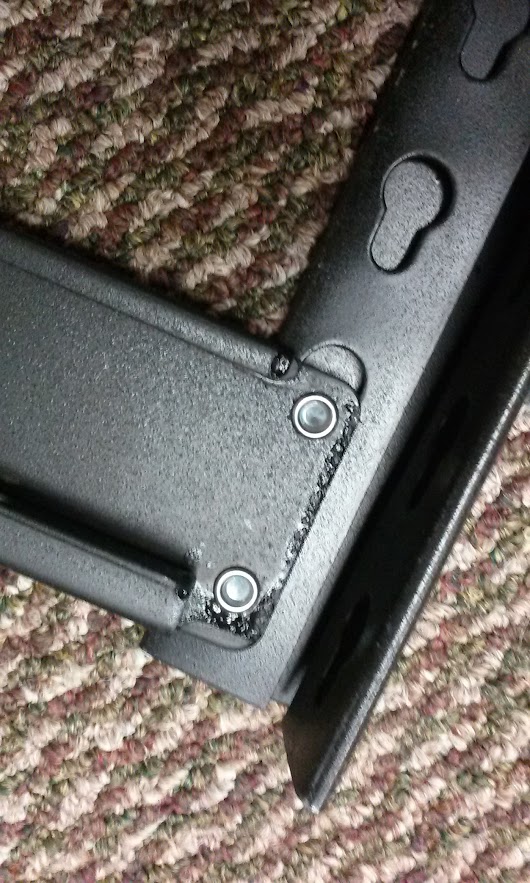
You'll also want to note exactly whether the lip for the wood is higher or lower. This needs to be the same on all four sides to ensure the board lays flat. It can go either toward the ground or toward the sky, but it must be the same for a given shelf on the rack.
You'll repeat this on all four sides of the rectangle to create the base of the shelving.
One of the trickiest parts of the assembly is connecting the lower part of the rack to the upper part of the rack. Using the post couplers given in the package, you'll need to drive the coupler into the lower rack. The upper rack bar will then drop down onto the coupler. The post coupler is the silver portion in this image:
I have no idea how you do this without a rubber mallet, which is why I consider it super critical.
Finally, as your finish and touch up your assembly, make sure to measure where your primary tabletop is in relation to your stance. Your arms should form roughly a right angle when in typing position over your tabletop. Depending on the size of your keyboard, this should be placed about 1/2'-1' lower than your hands (1-2 notches in our rack).
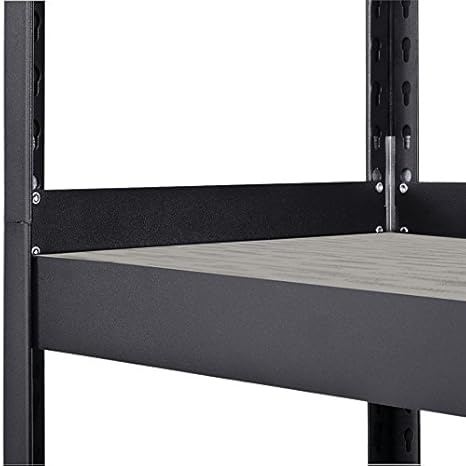
Once this is finished, and you've dropped in some of the wood, you should be roughly at this point in the assembly:

I modified my desk from this setup by lowering the 2nd shelf closer to the ground. This gives my feet a place to seat them when I do decide to sit. At this point in the assembly it's actually relatively easily to move shelves up and down. The structure is solid enough that moving a single shelf at a time won't make this fall apart.
After this, I then decided to add a pegboard to the back of the desk. This allows me to do a few things:
- Run wires without them being visible
- Add hooks for hanging tools and running wires
Currently, the peg board is connected to the frame using zip ties. This appears to be perfectly well suited for the tools I have so far. In the future though, it may be nice to tidy this up by using holes on the lip of the frame bars instead.
I also purchased a set of hooks and other containers to hang on the peg board.

After all this, it was just a matter of hanging tools, plugging in some equipment, and starting things up.
Table-o-Costs
So far, the cost of this project is as follows:
| Item | Cost | Total |
|---|---|---|
| Storage Shelves | $95 | $95 |
| Peg Board | $15 | $110 |
| Peg Board Accessories | $12 | $122 |
| Surge Protector | $8 | $130 |
| Rubber Mallet | $10 | $140 |
| Tape Measure | $10 | $150 |
There are a few other things I didn't include in the cost table that I already had (zip ties) or that I didn't use (nuts & bolts). These would be a minor adjustment to the total cost anyway.
This also doesn't include some new accessories that I will be getting (monitor arms, new stool). These costs WILL make a big difference in the overall cost. I will include these in a 2nd part perhaps.
Overall though, roughly $150-$200. This is a huge savings when compared to the roughly $700+ one might spend on a standing desk.
Follow-up Thoughts
Overall, I'm really happy with how this has turned out so far. There are things still to be done (see TODO later on). As always though, there are things I may have done differently or didn't like.
- The boards this thing comes with are pretty ugly. Originally when I saw them in the store, they did not appear nearly as strange. However, at my apartment they are not nearly as nice looking. This can be fixed relatively easily, but it was sort of a surprise.
- I should have been a bit more careful with my measurements. Some of them did not come out exact (peg board size, table top height). Again, not disastrous things by any means, but these get tricky to fix post-setup.
- I wish I had a place for larger tools (saws and drills). I may be able to start down this road with my setup now, but not within an apartment really.
- This was a great project for someone (like me) who is mechanically declined. It encouraged me that I could plan for a few days & implement this in a single day. The project was small and achievable, but a bit of a challenge still.
TODO
There is still plenty of things left to do. Those things include:
- Set up monitor arms to allow the table top to be more flexible.
- Purchase a solid stool.
- Re-route wires for the sake of neatness.
- Consider covering up the wood boards with some kind of wrap.
If and when I decide to write part two, it will include an updated cost table along with details of cleaning up the setup and improving it slightly. I'll also include some more photos.